
Trade-In Flow
Be ready to build your own trade-in flow for your application! You can develop a fully functional trade-in system with Reusely's API. This guide will walk you through linking accounts, synchronizing catalog data, and utilizing the API to offer seamless trade-in experiences both online (Mail-In) and offline (In-Store).
The trade-in process cannot be separated from the payout method. Inside, there are also two options of purchasing methods, Mail-In and In-Store. It is up to you to decide which purchasing methods you want to apply for the trade-in flow. You may also use both! However.. There will be some adjustments for the Display Item Lists, it will be explained in the Step 1.
Follow the steps below to develop the trade-in flow on your own application.
Step 0: Retrieve Account
This step sets the foundation for the trade-in process. You may begin by retrieving the company's account data using the Account API. On your application, the data will be integrated based on the linked account’s settings. You need catalog data and its settings to be implemented, it is very important to retrieve from your company’s account data.
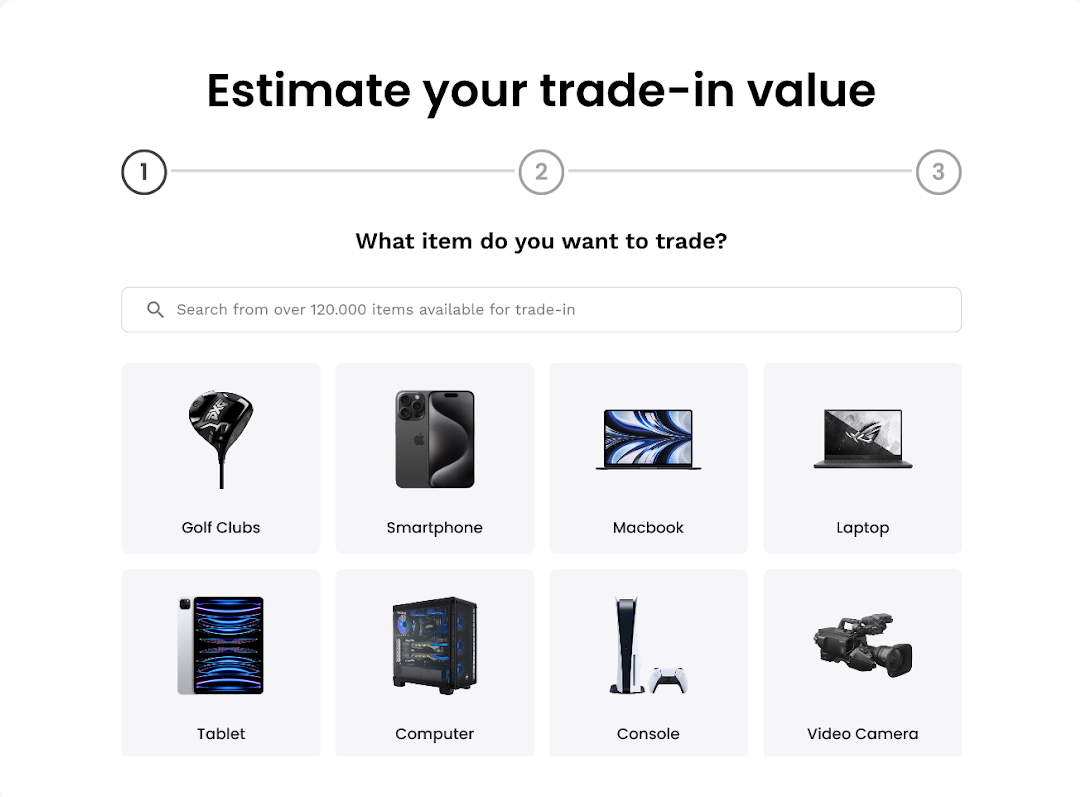
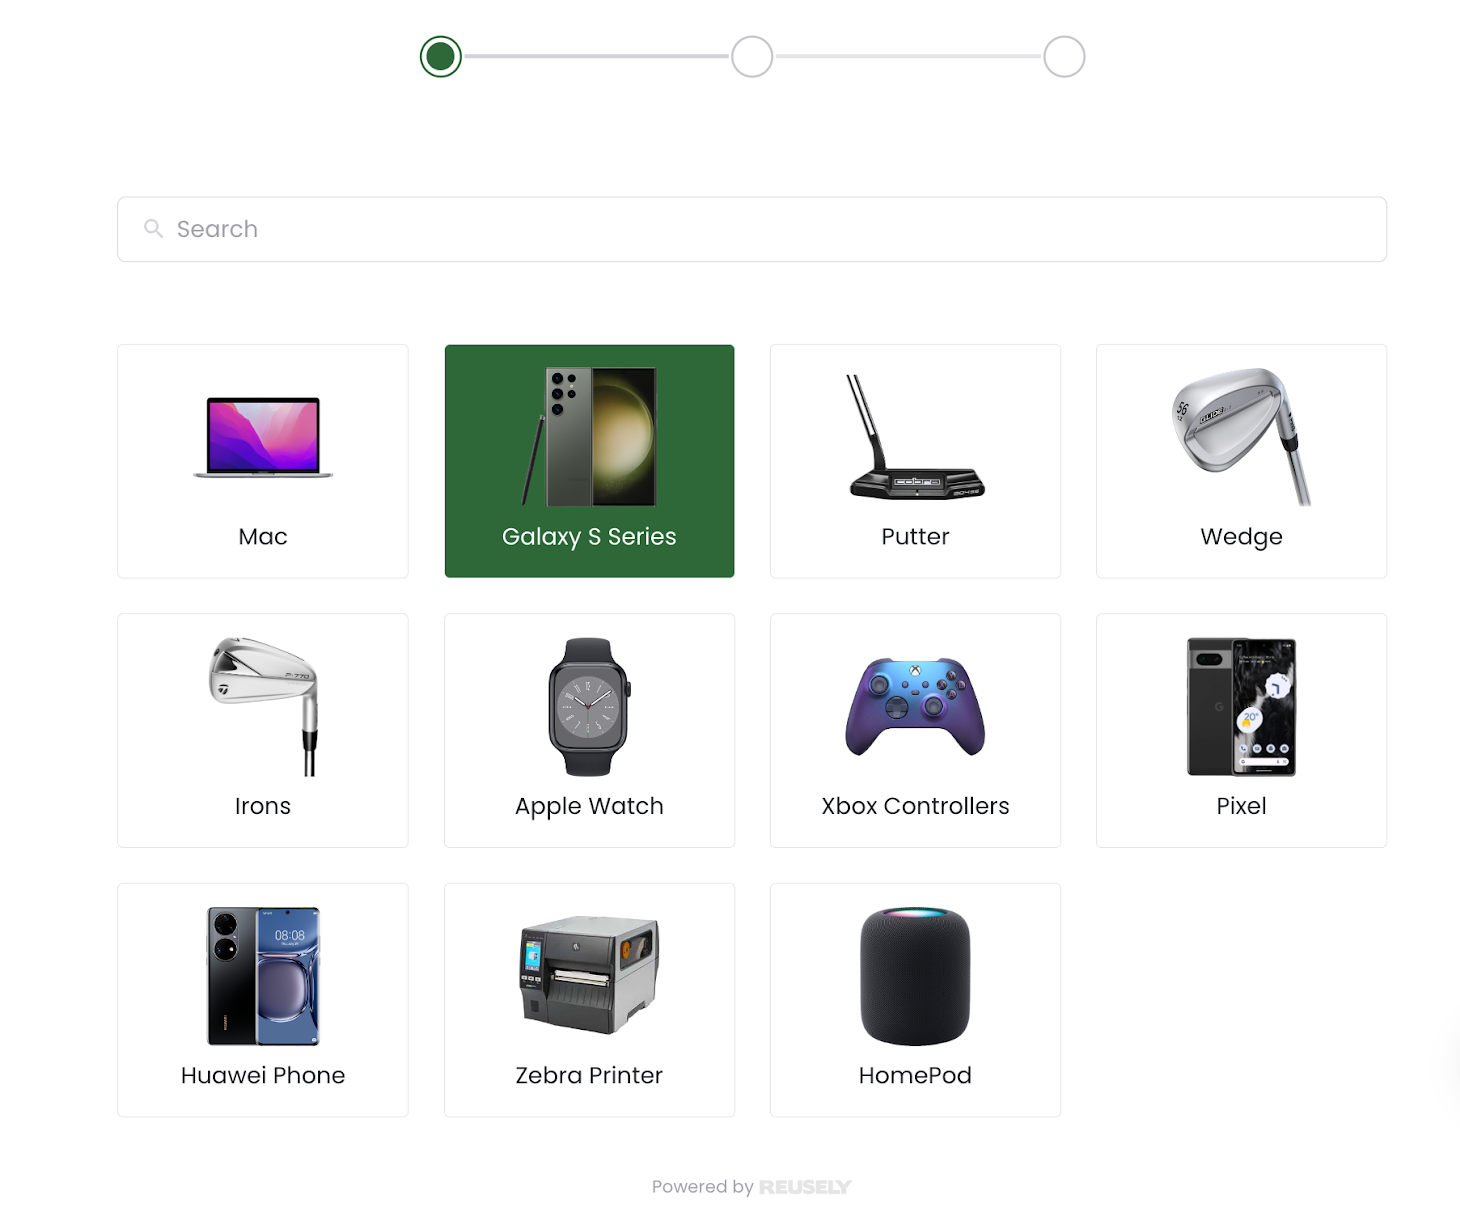
Step 1: Display Item Lists
Displaying the item lists is the first step. There are several options for the starting point that your application can implement. The sequence would be different from every process.
Please note the three starting points you may want to consider for your application, as the API and subsequent processes will differ for each one.
Note:
There are two options for the purchasing method: Mail-In and In-Store. The choice will determine which payout process API to use. It will affect the param in the API endpoint, add limit_device in it.
- Mail-in -> limit_device=mail-in
- In-store -> limit_device=in-store
- Both -> no limit_device needed in the param.
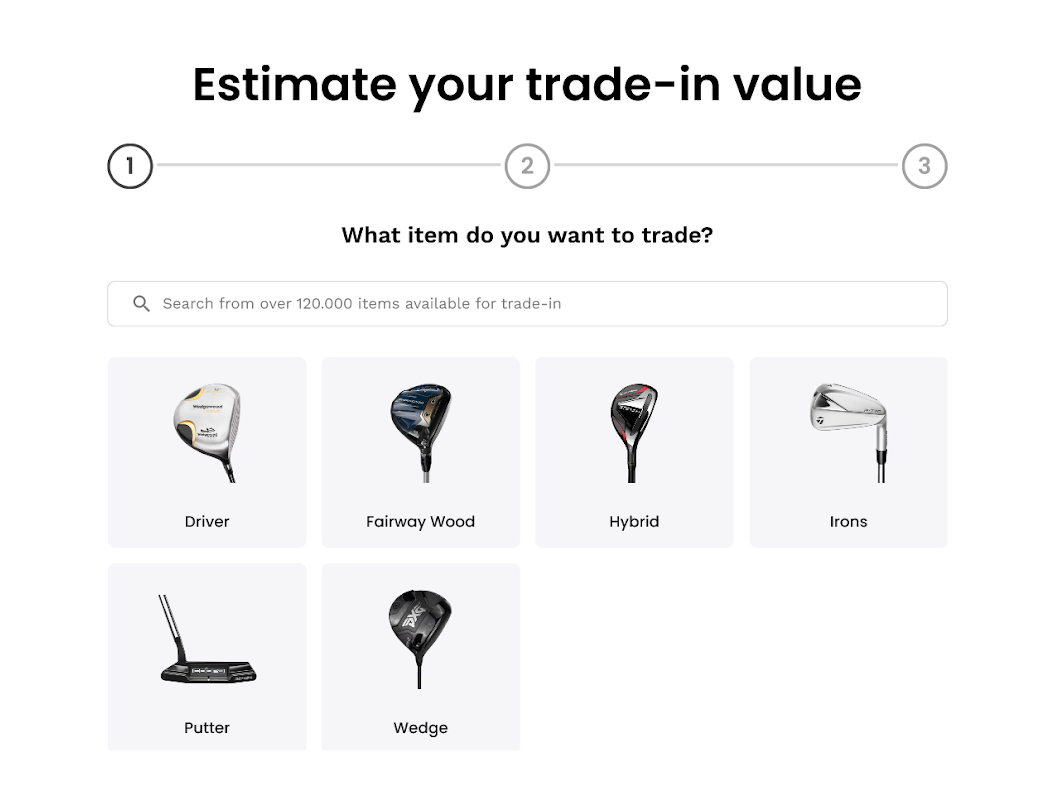
1a. Starting point: Category
If your company opts to show the product categories first, use the Catalog - List of Categories API to display the available categories to users.
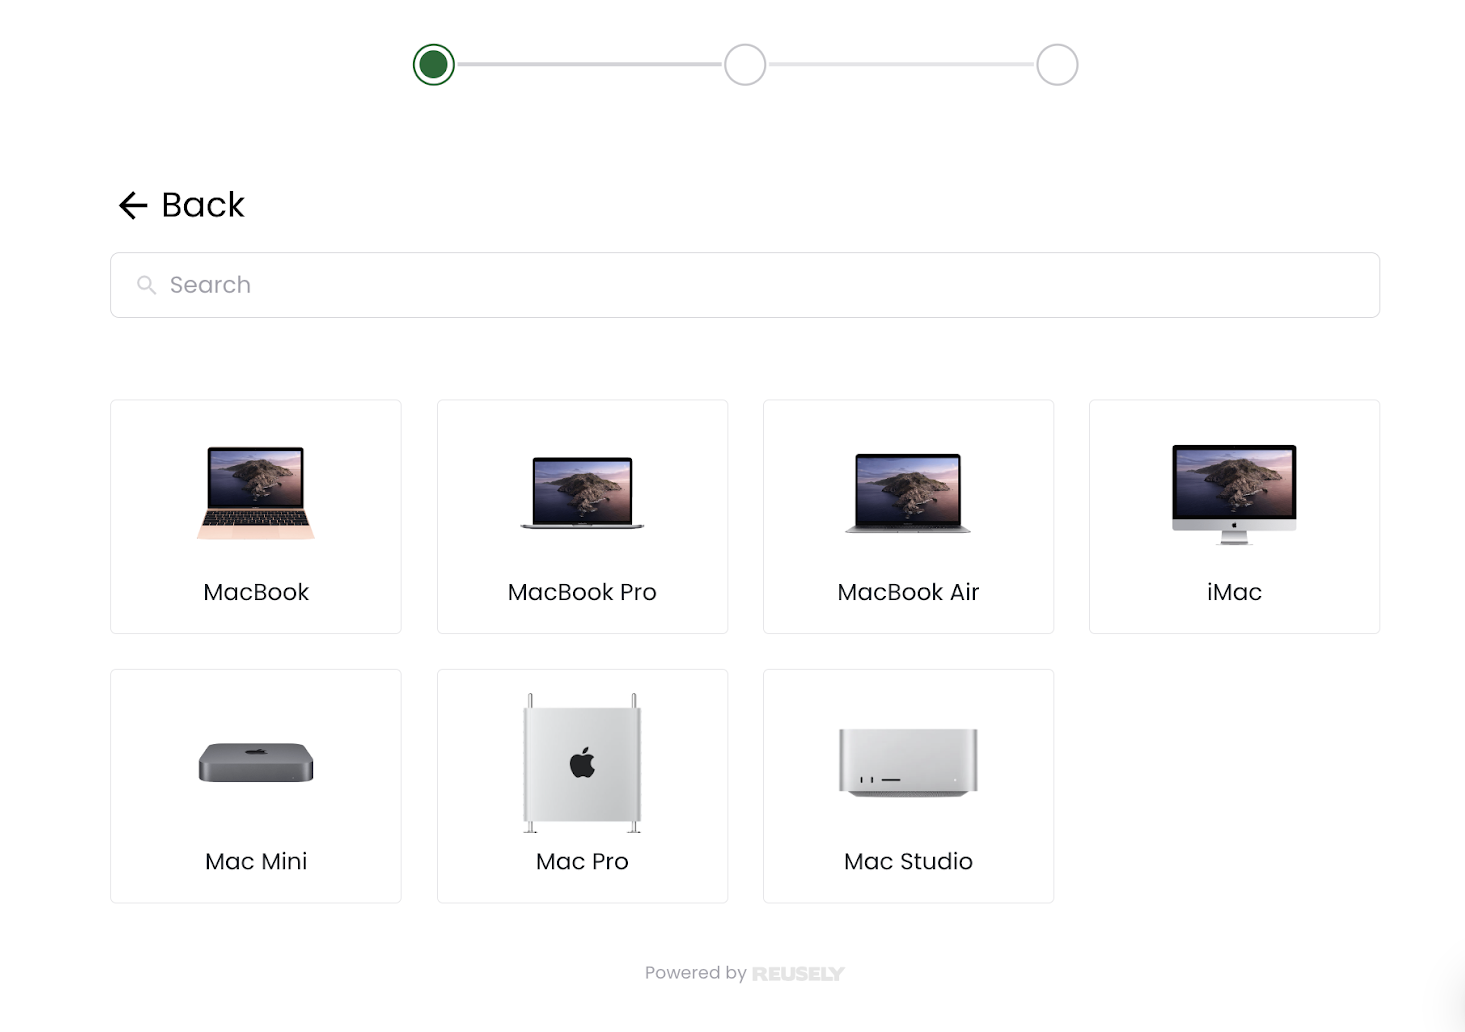
Once the user selects a main product category, retrieve specific devices related to that product using the Catalog - List of Devices API.
1b. Starting point: Brand
Your application can display the products based on the brand first. You may implement it by using the Catalog - Brand API to retrieve the brand lists.
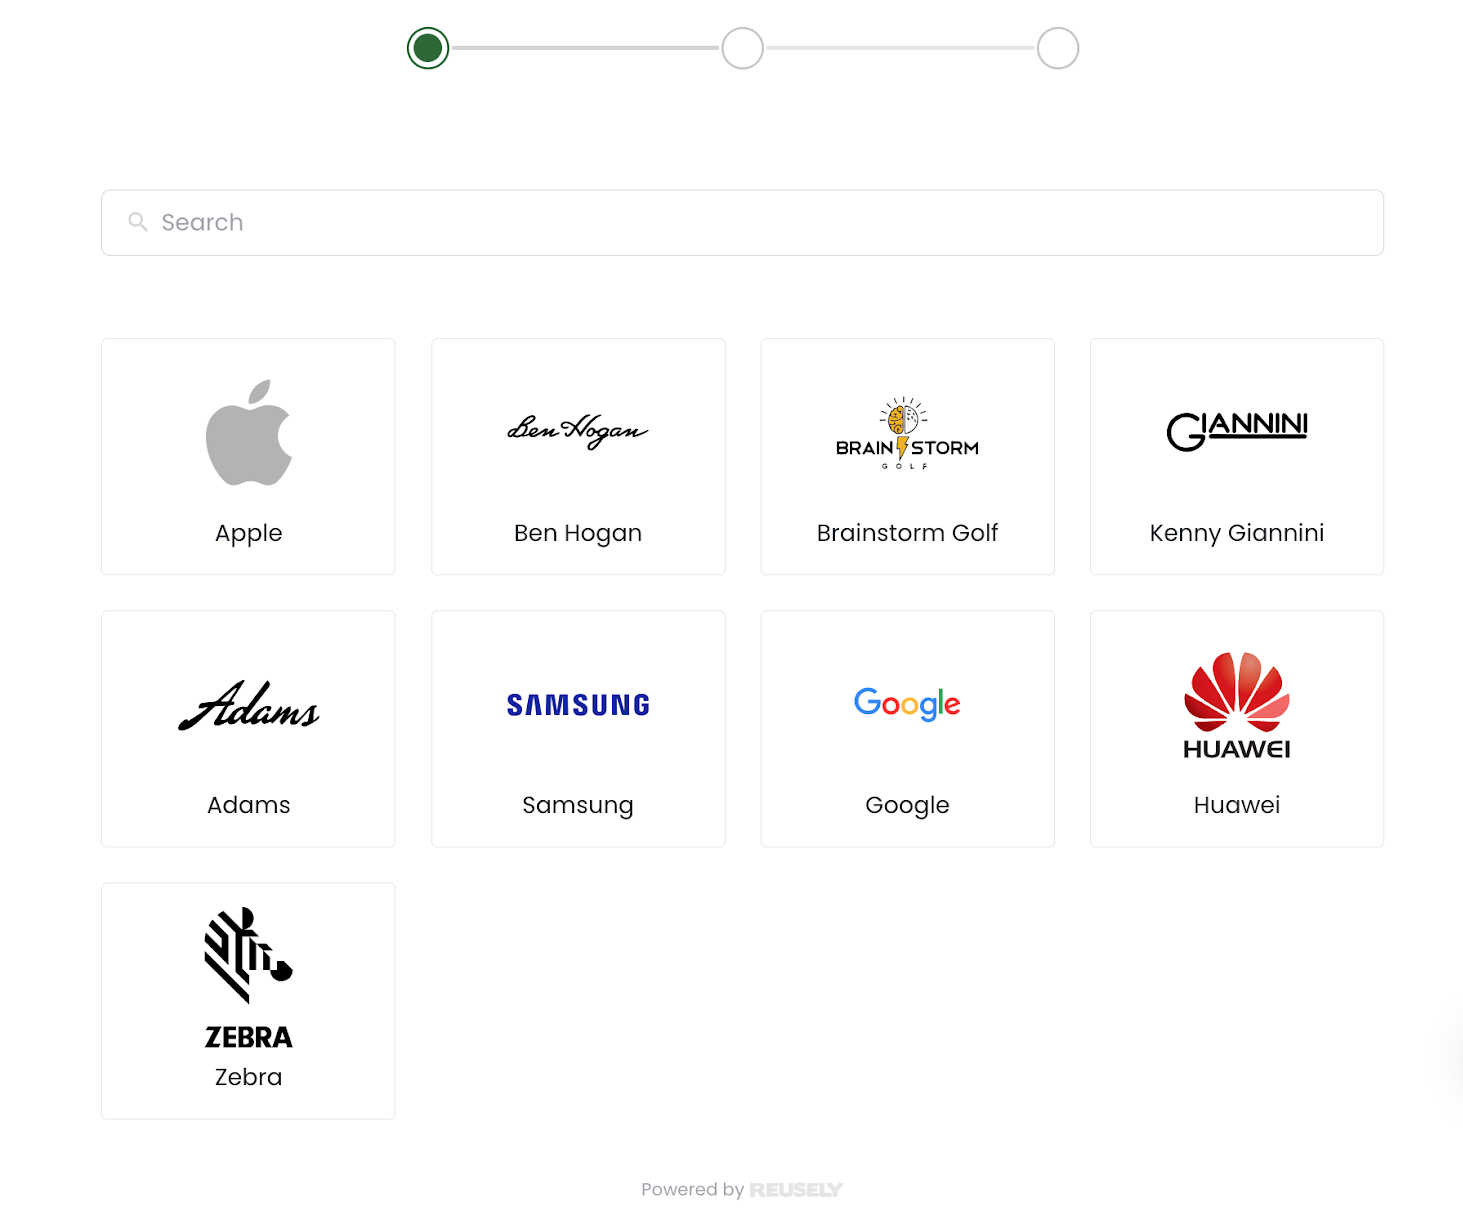
After the user selects a brand, use the List of Devices API to display specific categories within that brand.
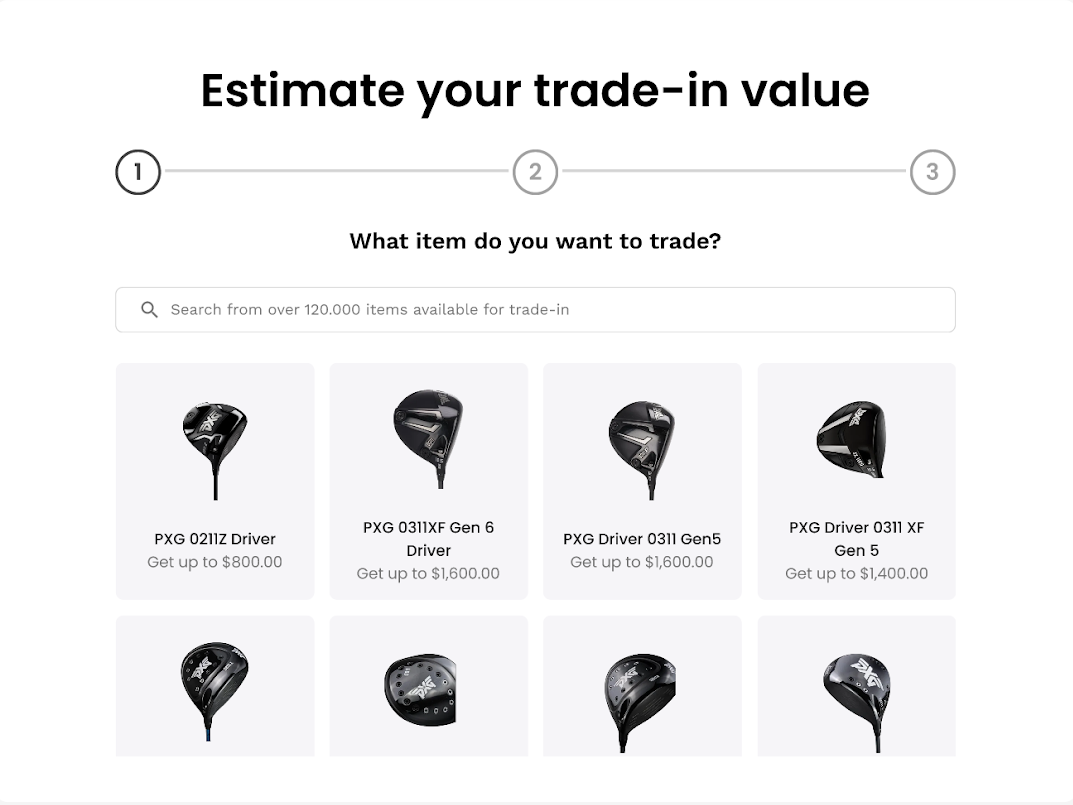
1c. Starting point: Product
If users choose to start from the product, use the Catalog - List of Popular Categories API to display the available category options.
Note: For this starting point, it will immediately continue to the model specification step.
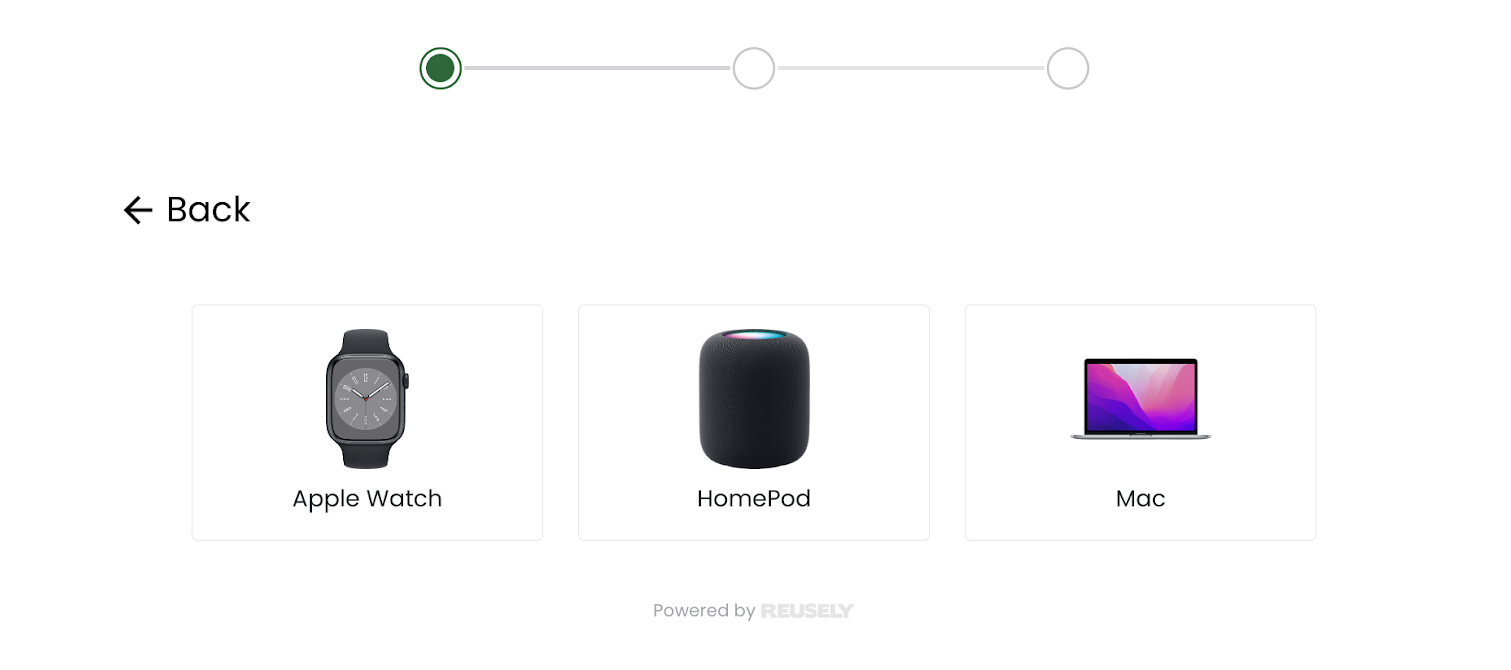
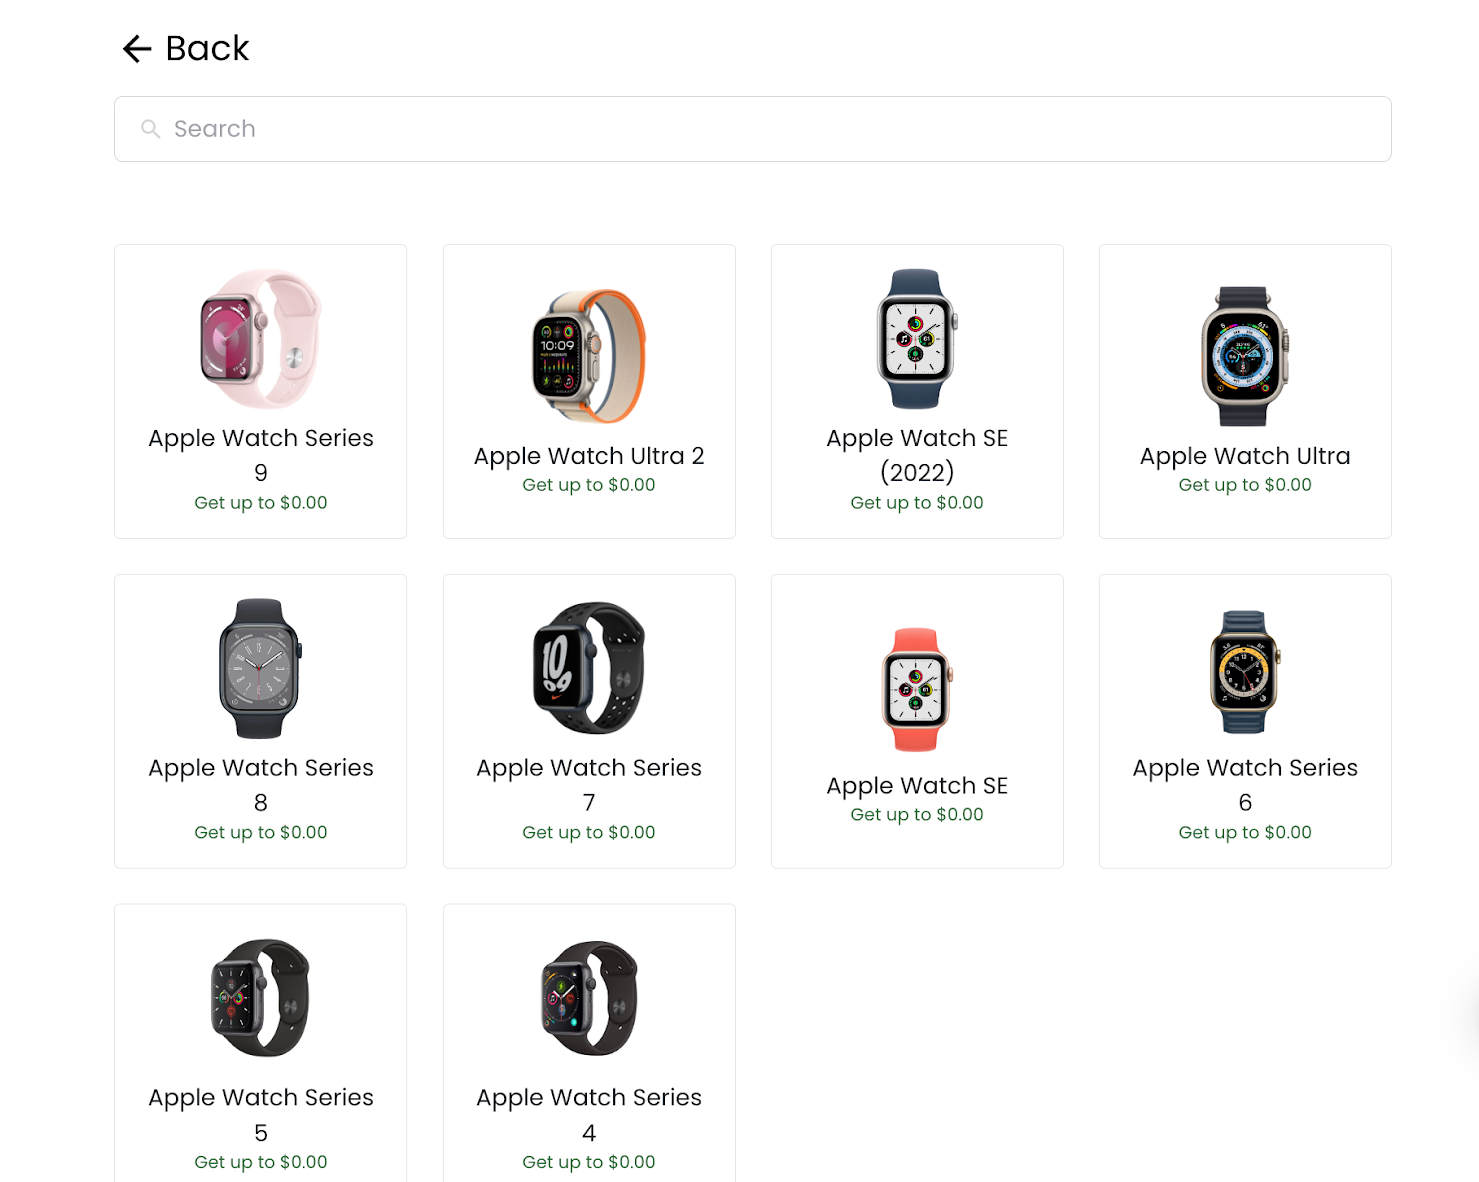
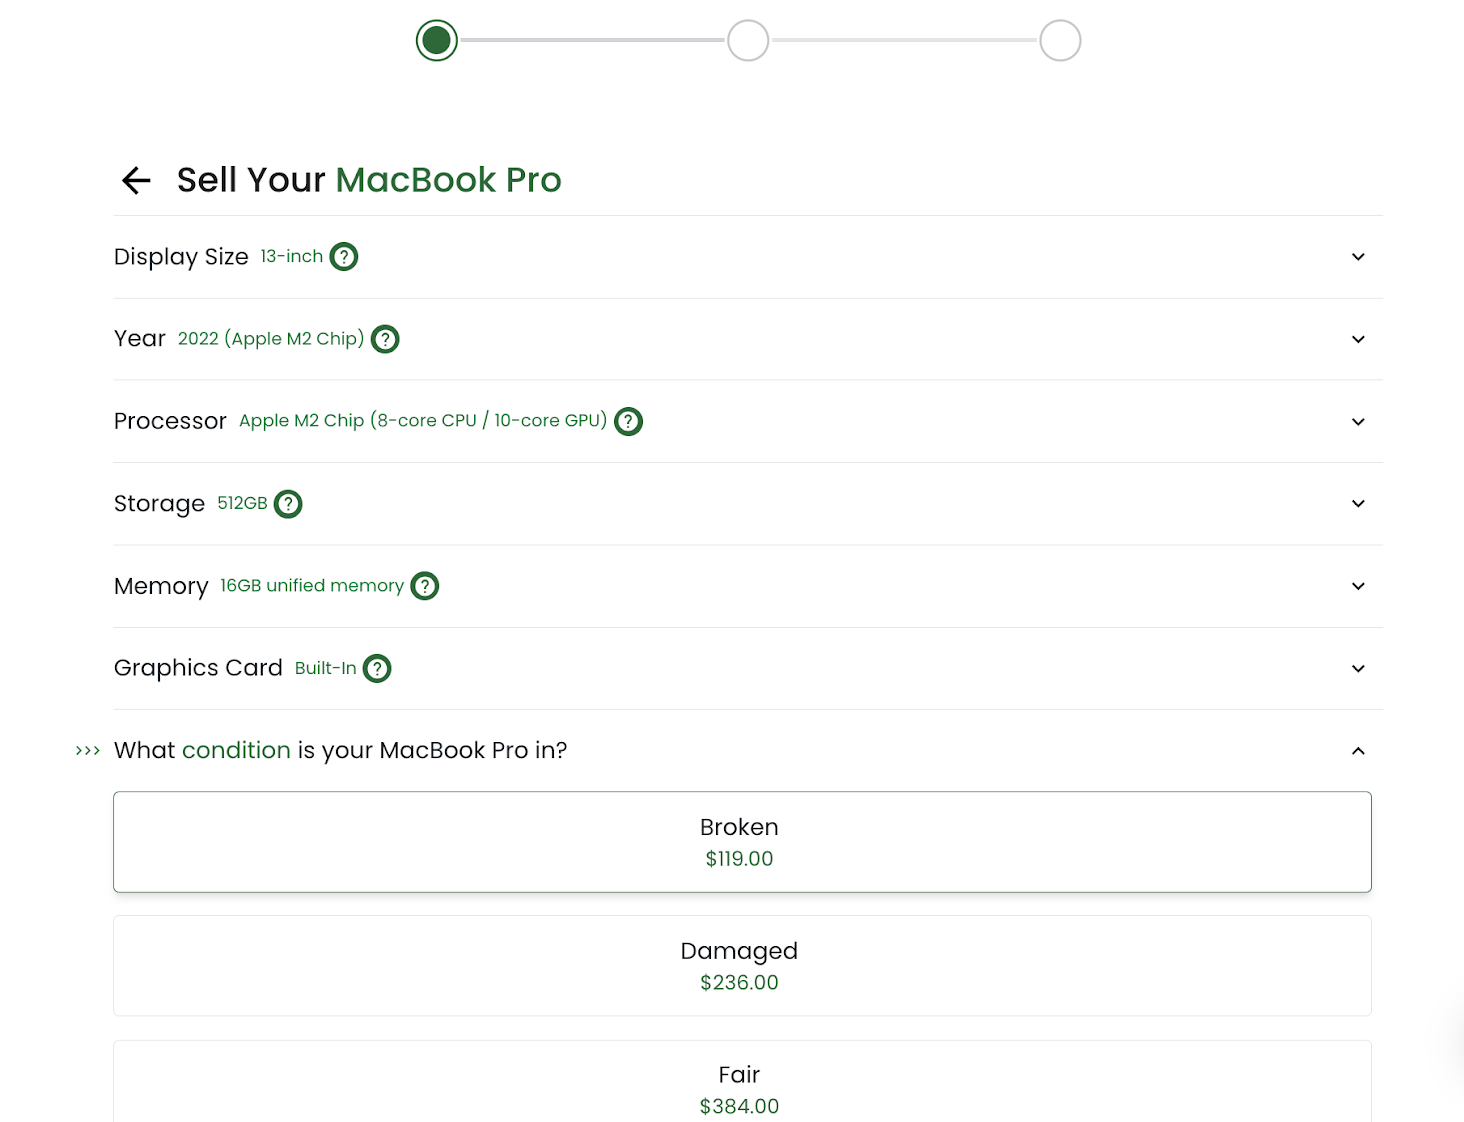
Step 2: Specify the Models
After the user selects a device, you can display the available models based on their unique IDs. Retrieve this information using the Catalog - List of Models API.
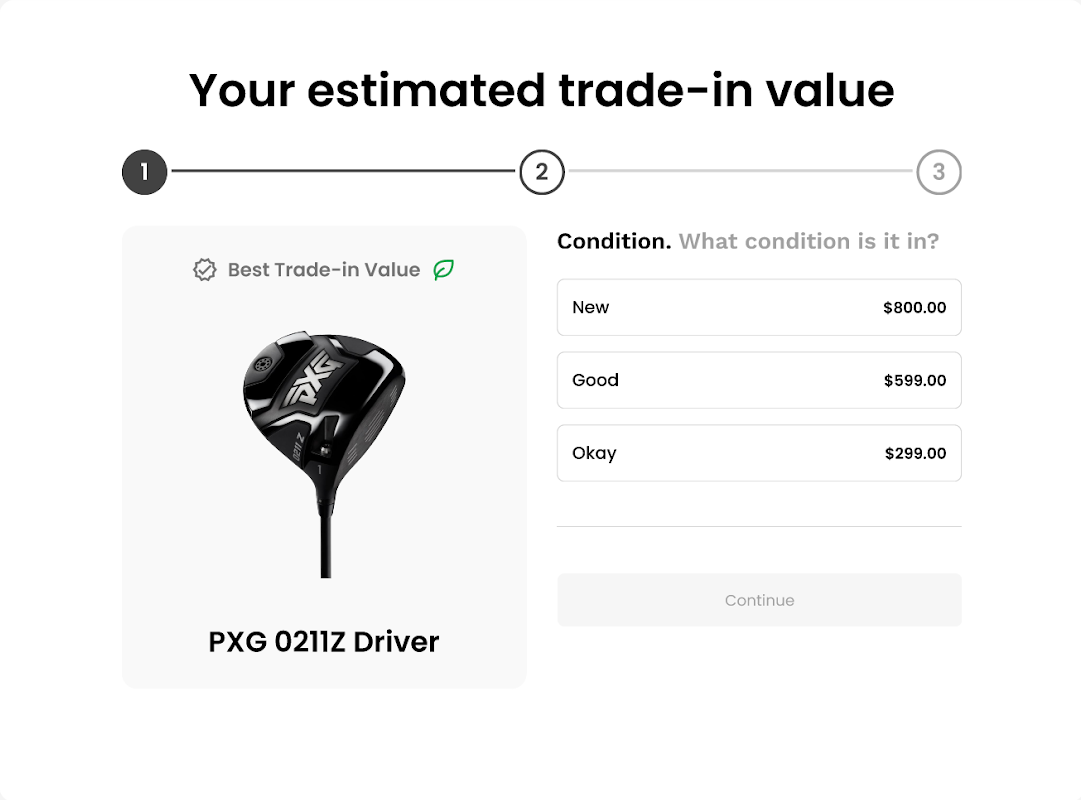
Step 3: Select the Condition
Once a specific model is chosen, use the Catalog - List of Models API to retrieve general information and images for the product. It is important for your application to provide information as detail as it can.
A device usually has many conditions to be reported in the trade-in system. To display the detailed specifications for the selected model device, use the Retrieve Specifications of Model API. Each product will display different conditions needed to be chosen by your application’s users.
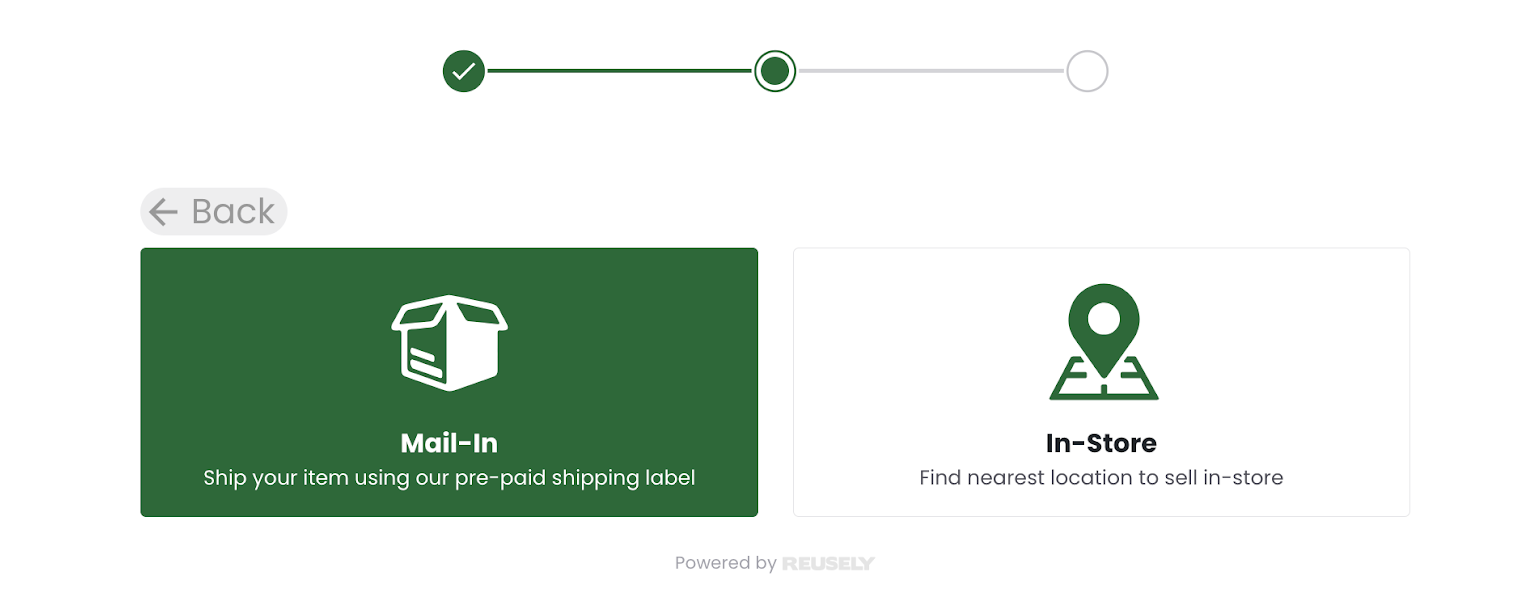
Step 4: Purchasing Method
The flow of the trade-in system includes the purchasing methods. You can use two methods to be used on your application: Mail-In or In-Store.
Note:
If the user selects the mail-in, the page will be lead to fill-in forms and the needed API would be the Country Code API.
If the user selects the in-store, use the Store Location API. This will direct users to a map where they can choose the selling location, based on the longitude and latitude of the location. Not exactly the point, but only the location options.
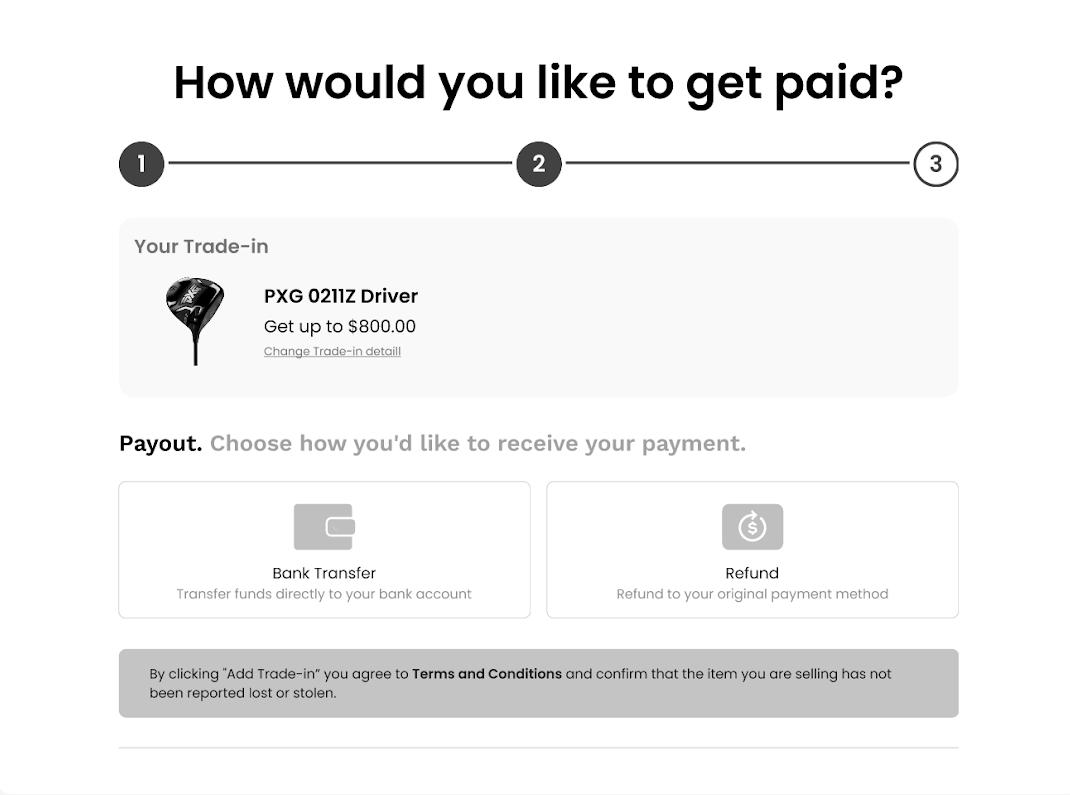
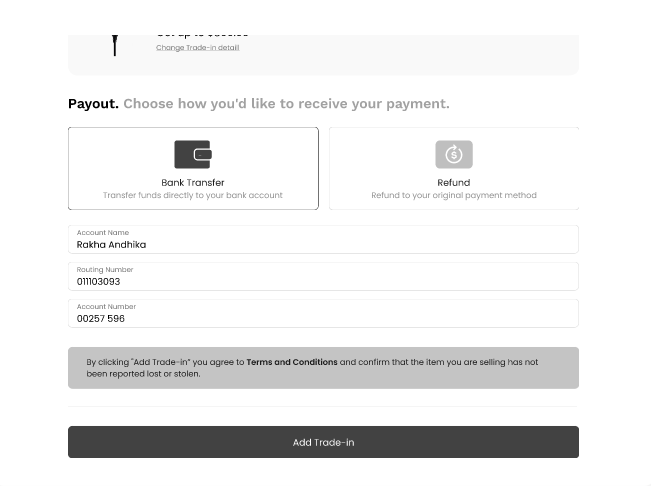
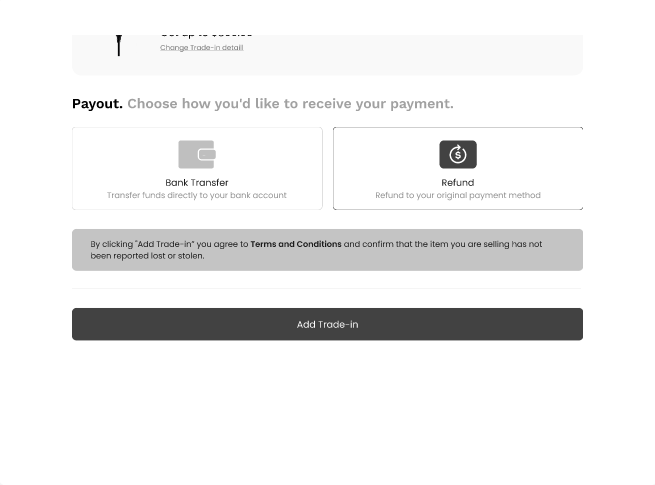
Step 5: Finalize the Offer
When you create the trade-in system, this step (finalizing the offer) has some details which you have to pay attention to.
-
For the Mail-In option, fill in the required fields such as identity, address, and payout method.
For the In-Store option, only fill identity and payout method. -
There are some cases where the user will be inactive for a while after reaching this point. Hence, it is important for the retrieved data to stay updated. You also may retrieve Retrieve Detail Product API to get more details about the updated details of a product, especially to refresh the data.
-
If you want to add the offer to the cart, API is not needed to input it to the cart. You can manage as the developer on how to handle the cart.
-
Choose between the mail-in and in-store payout methods. Use the appropriate API provided by Reusely:
-
There is a probability that the user might not complete the offer yet. Your application might hit the Collect Leads API and then the offers will move to Abandoned Buyback. (This is optional.)
After all required fields are filled, to proceed the checkout process on your application, you have to use these two APIs:
- Checkout Mail-In (for mail-in purchasing method)
- Checkout In-Store (for in-store purchasing method)
Note: If you previously used the Collect Leads API, you can fetch the order_id to the Checkout API. It will move the Abandoned Buyback to Active Leads.
Additional Information:
For your website, you also have the option to create the final report of the offer, but it is optional.
Good luck on your application development using our trade-in system. If you have any questions or issues, please contact us on [email protected].
Updated 5 months ago